DIY Floating Shelves: Step-by-Step Guide for Home Decor
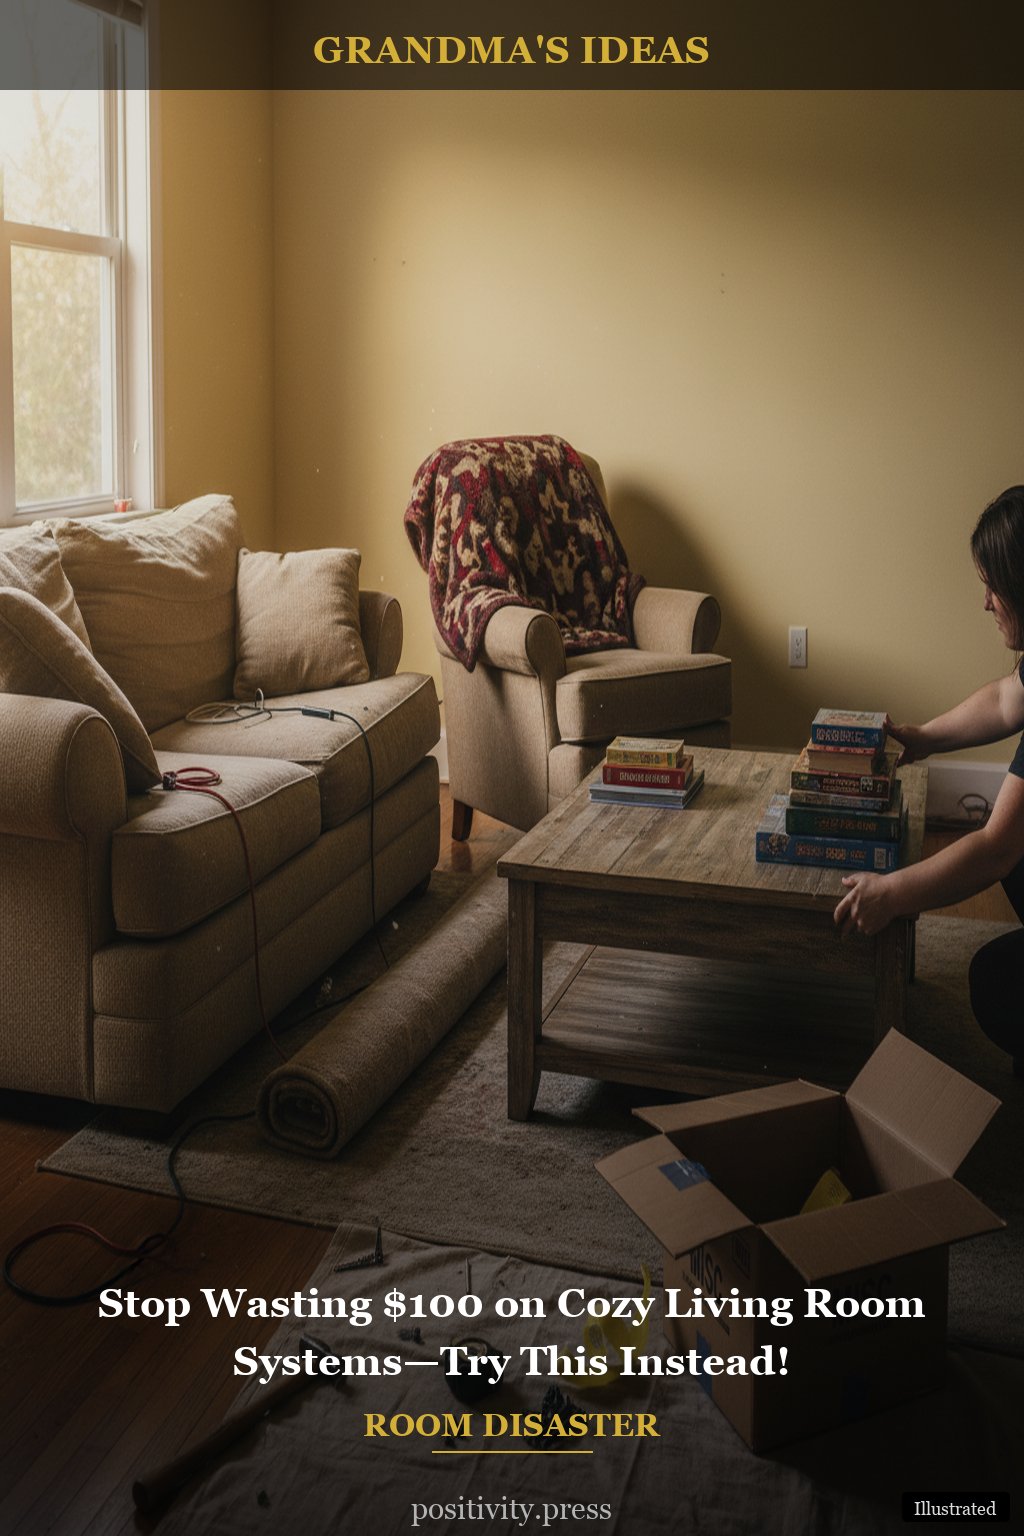
Does your home feel cluttered? These DIY tips fix it fast.
Welcome to Grandma’s DIY Floating Shelves Guide!
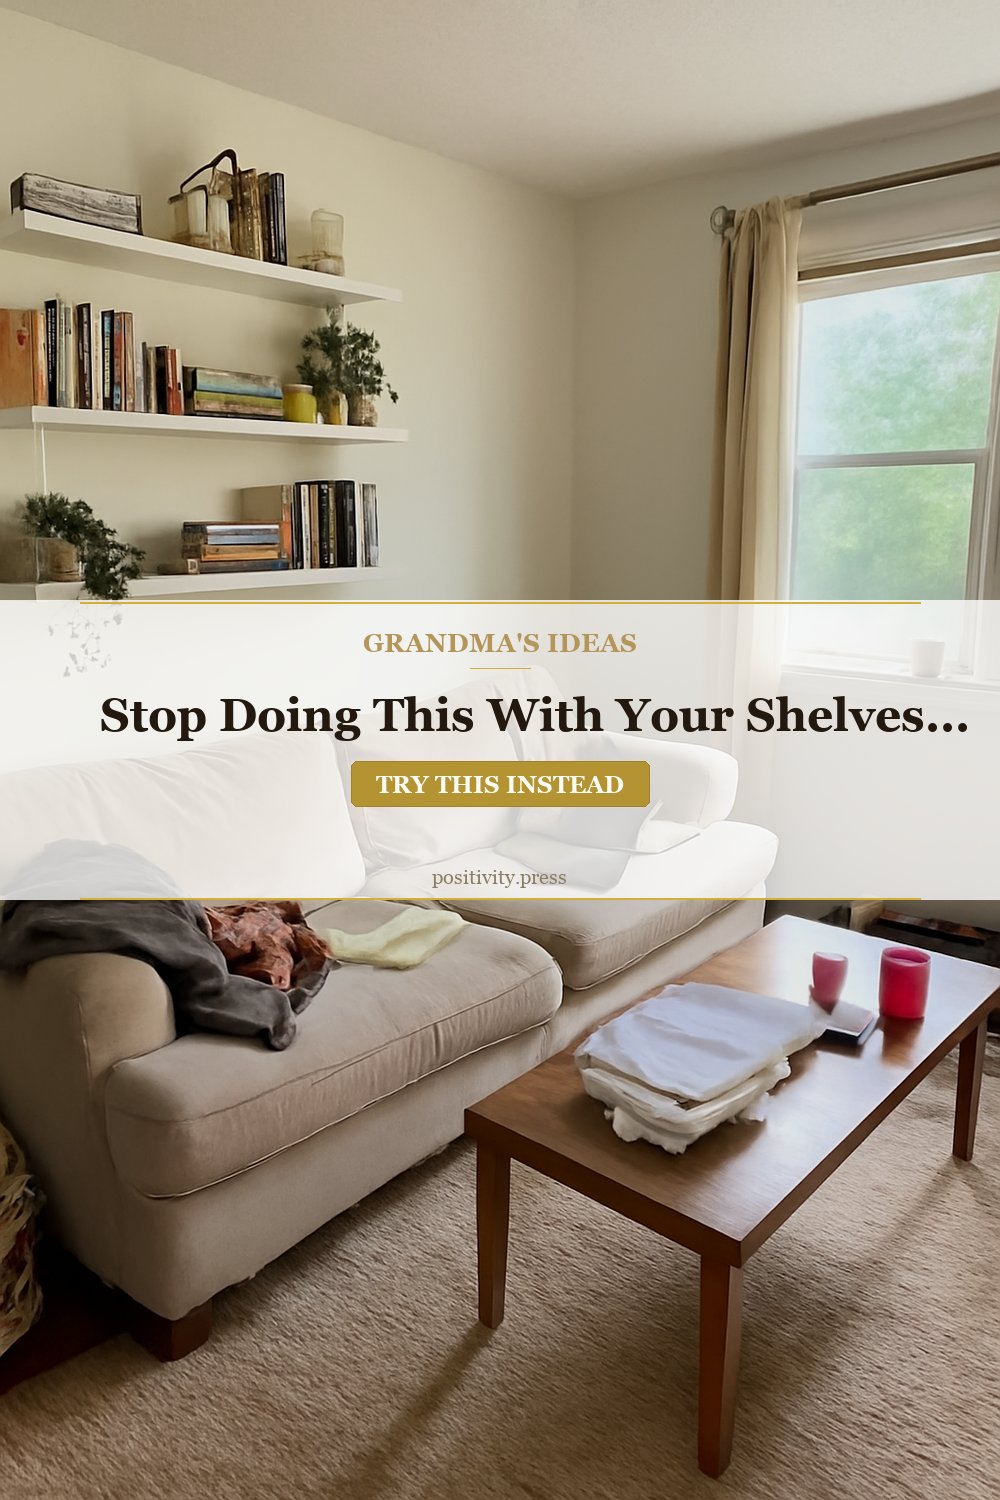
Ah, my dear, there’s nothing quite like the feeling of adding a personal touch to your home! Floating shelves are a charming way to showcase family photos, cherished books, and little trinkets that tell a story. Grandma always said that a well-decorated home is a reflection of your heart, and what better way to express yourself than with these delightful shelves? In this step-by-step guide, we’ll walk you through everything you need to know to create your very own floating shelves, perfect for any room in your house.
Why Choose Floating Shelves?
Floating shelves are more than just functional; they can transform any space into a warm and inviting haven. Here are a few reasons why you might want to consider them:
- Space-Saving: Perfect for small rooms where floor space is limited.
- Versatile: They can fit into any decor style, from rustic to modern.
- Easy to Customize: You can choose the size, wood type, and finish to match your home perfectly.
- Showcase Your Treasures: Great for displaying your favorite items and adding a personal touch.
Gather Your Materials
Before we start, let’s gather all the materials you’ll need. This way, you won’t have to run to the store mid-project. Trust me, my dear, preparation is key!
- Wood Boards: Choose the type of wood you like best (pine, oak, or even reclaimed wood for a rustic feel).
- Brackets: Floating shelf brackets are essential to support your shelves. Make sure they are sturdy.
- Wood Screws: Needed to secure the brackets to the wall and the shelves.
- Drill: For making holes and securing everything in place.
- Level: To ensure your shelves are straight, because nobody likes a crooked shelf!
- Sandpaper: To smooth out any rough edges on your wood.
- Paint or Stain: Optional, but a lovely way to add color and character.
- Measuring Tape: For accurate measurements, because precision is important!
Step 1: Measure and Mark Your Wall
First things first, you’ll need to decide where you want your floating shelves. Grandma always said that the right placement can make all the difference!
Use your measuring tape to find the perfect height and width for your shelves. Mark the spots with a pencil. Don’t forget to consider what you’ll be displaying on the shelves; you want them to be easily accessible!
Step 2: Choose Your Shelf Length
Next, decide how long you want your shelves to be. Longer shelves can hold more items, but they also need more support. Try to keep the length between 24 to 48 inches, depending on your wall space.
Step 3: Cut the Wood
Now, if you’re handy with a saw, you can cut your wood to size. If not, most hardware stores will cut the wood for you. Just bring your measurements, and they’ll take care of it! Remember, safety first!
Step 4: Sand the Edges
Once your wood is cut to size, it’s time to sand those edges. Smooth surfaces make for a more polished look. Grandma always said that taking the time to finish your project well is what makes it truly shine.
Step 5: Paint or Stain (Optional)
If you’d like to add some color, now’s the time! Apply your chosen paint or stain evenly across the wood. Let it dry thoroughly before moving on to the next step. This is your chance to get creative, so have fun with it!
Step 6: Install the Brackets
With your wood ready, it’s time to install the brackets. Hold the bracket against the wall where you marked earlier and use your level to ensure it’s straight. Mark the screw holes with your pencil. Drill the holes where you marked, and then secure the brackets to the wall using wood screws.
Step 7: Place the Shelves
Now for the exciting part! Carefully place your wood shelves onto the installed brackets. Make sure they sit securely and are level. You might need a friend to help hold it steady while you check for levelness.
Step 8: Style Your Shelves
Once everything is secure, it’s time to style your new floating shelves! This is where you can let your personality shine through. Here are some ideas for what to display:
- Family Photos: Showcase your loved ones with beautiful frames.
- Books: Stack your favorite reads or display them upright.
- Plants: Add some greenery with small potted plants or succulents.
- Decorative Items: Incorporate unique trinkets that hold sentimental value.
Step 9: Enjoy Your Creation
Step back and admire your handiwork! There’s something so fulfilling about creating something with your own two hands. Grandma always said that home is where the heart is, and these shelves are a beautiful way to share your heart with others.
Tips and Tricks for Success
To ensure your floating shelves turn out beautifully, here are a few extra tips:
- Use Anchors: For heavier items, consider using wall anchors to provide extra support.
- Mix Heights: When styling, vary the heights of items for visual interest.
- Seasonal Decor: Change up your shelf decor with the seasons to keep things fresh.
Final Thoughts
DIY floating shelves are not just a project; they’re a way to create a warm and inviting space that reflects your family’s love and memories. With a little time and effort, you can craft something truly special for your home. Remember, my dear, every project is a labor of love, and the most important part is to enjoy every moment of the journey. Happy decorating!


Post Comment