Organize Your Pantry Like a Pro in 5 Steps
Your kitchen feels outdated? These 5 tricks fix it for under $10.
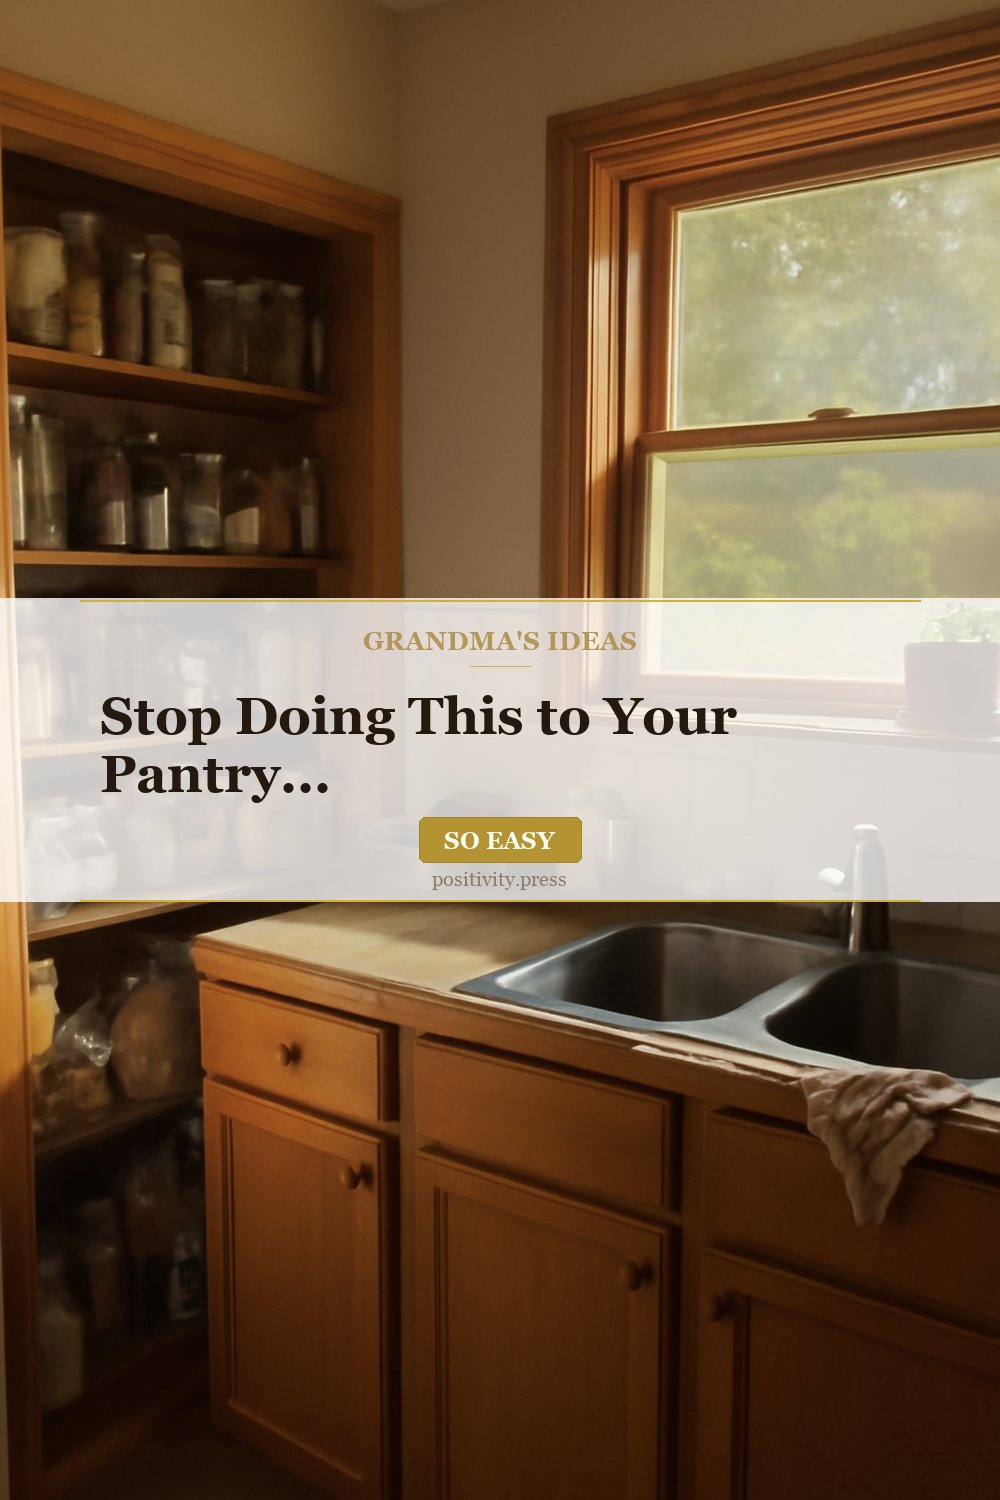
Welcome to Your Pantry Revolution!
Oh, darling, if there’s one place in your home that deserves a little love and care, it’s your pantry. Just like Grandma always said, “A well-organized pantry is the heart of a happy kitchen!” Whether you’re a busy mom, a passionate home chef, or just someone who loves to keep a cozy home, having an organized pantry can make your life a whole lot easier. Today, we’re going to walk through five simple steps to organize your pantry like a pro!
Step 1: Clear It Out
First things first, we need to clear the clutter. Just like Grandma used to say, “You can’t make a pie without rolling out the dough!” This means getting your hands dirty and diving in. Start by taking everything out of your pantry. Yes, everything! This little exercise will help you see exactly what you have and what you might need to toss out.
- Check Expiration Dates: Go through every item and check those pesky expiration dates. If it’s expired, it’s time to say goodbye.
- Assess What You Have: As you take everything out, take a moment to assess what items you actually use. This old trick works every time: if you haven’t used it in the last six months, chances are you won’t use it again!
- Group Like Items: Start grouping similar items together—canned goods, snacks, pasta, and baking supplies. This will make it easier to see what you have.
Step 2: Clean the Shelves
Now that your pantry is empty, it’s time to give those shelves a good scrub! Remember, cleanliness is next to godliness. Grab a cloth, some warm soapy water, and wipe down all surfaces. If you want to be extra, sprinkle a little baking soda on stubborn stains and let it sit for a while.
- Don’t Forget the Corners: Dust tends to collect in the corners, so give those areas a good attention too!
- Air It Out: If your pantry has a musty smell, leave the door open for a while to air it out before putting everything back.
Step 3: Use Storage Solutions
Now comes the fun part—organizing! Just like Grandma always said, “A place for everything and everything in its place.” Invest in some good storage solutions. Here are a few ideas to get you started:
- Clear Containers: Use clear bins or jars to store dry goods like pasta, rice, and flour. This not only looks beautiful but also helps you see what you have at a glance.
- Labels Are Your Friends: Labeling is key to maintaining an organized pantry. Use a label maker or simple masking tape to create clear labels for each bin or jar.
- Tiered Shelves: If you have the space, consider adding tiered shelving to maximize vertical space. This way, you can see everything at once!
Step 4: Arrange for Easy Access
Now that you have your items sorted and stored, it’s time to arrange everything for easy access. Grandma always emphasized the importance of practicality. Here’s how to do it:
- Put Daily Use Items at Eye Level: Store items you use daily at eye level. Keep snacks, cooking oils, and spices within easy reach.
- Store Similar Items Together: Group similar items, like baking supplies together or snack items in one bin. This makes finding what you need a breeze!
- Use Baskets for Snacks: If you have kids, consider creating a “snack basket” so they know where to go for their treats.
Step 5: Maintain Your Pantry
Congratulations, my dear! You’ve transformed your pantry into a well-organized haven. But just like Grandma always reminded us, “A tidy space requires regular upkeep.” Here are some tips for maintaining your beautiful pantry:
- Regular Check-Ins: Set a reminder to check your pantry every month. Look for expired items and make sure everything is in its place.
- Restock Thoughtfully: When you go grocery shopping, make a point to restock items in a way that keeps your organization intact.
- Involve the Family: Get the whole family involved in keeping the pantry organized. Teach the kids where things belong and how to return items to their rightful place.
Final Thoughts
There you have it, my sweet friend! Five simple steps to organize your pantry like a pro. Remember, an organized pantry not only saves you time but also creates a welcoming environment for cooking and baking. And as Grandma always said, “A little love and care can turn even the simplest of spaces into something special.” So roll up your sleeves and get to work! Your future self will thank you!
Now, go on and show your pantry some love, and let us know how it goes. We’d love to hear your own tips and tricks for pantry organization in the comments below!


Post Comment