5 DIY Reading Nook Tricks Under $50 (And Why #3 Saved My Marriage)
5 Ways to DIY a Charming Reading Nook for Under $50
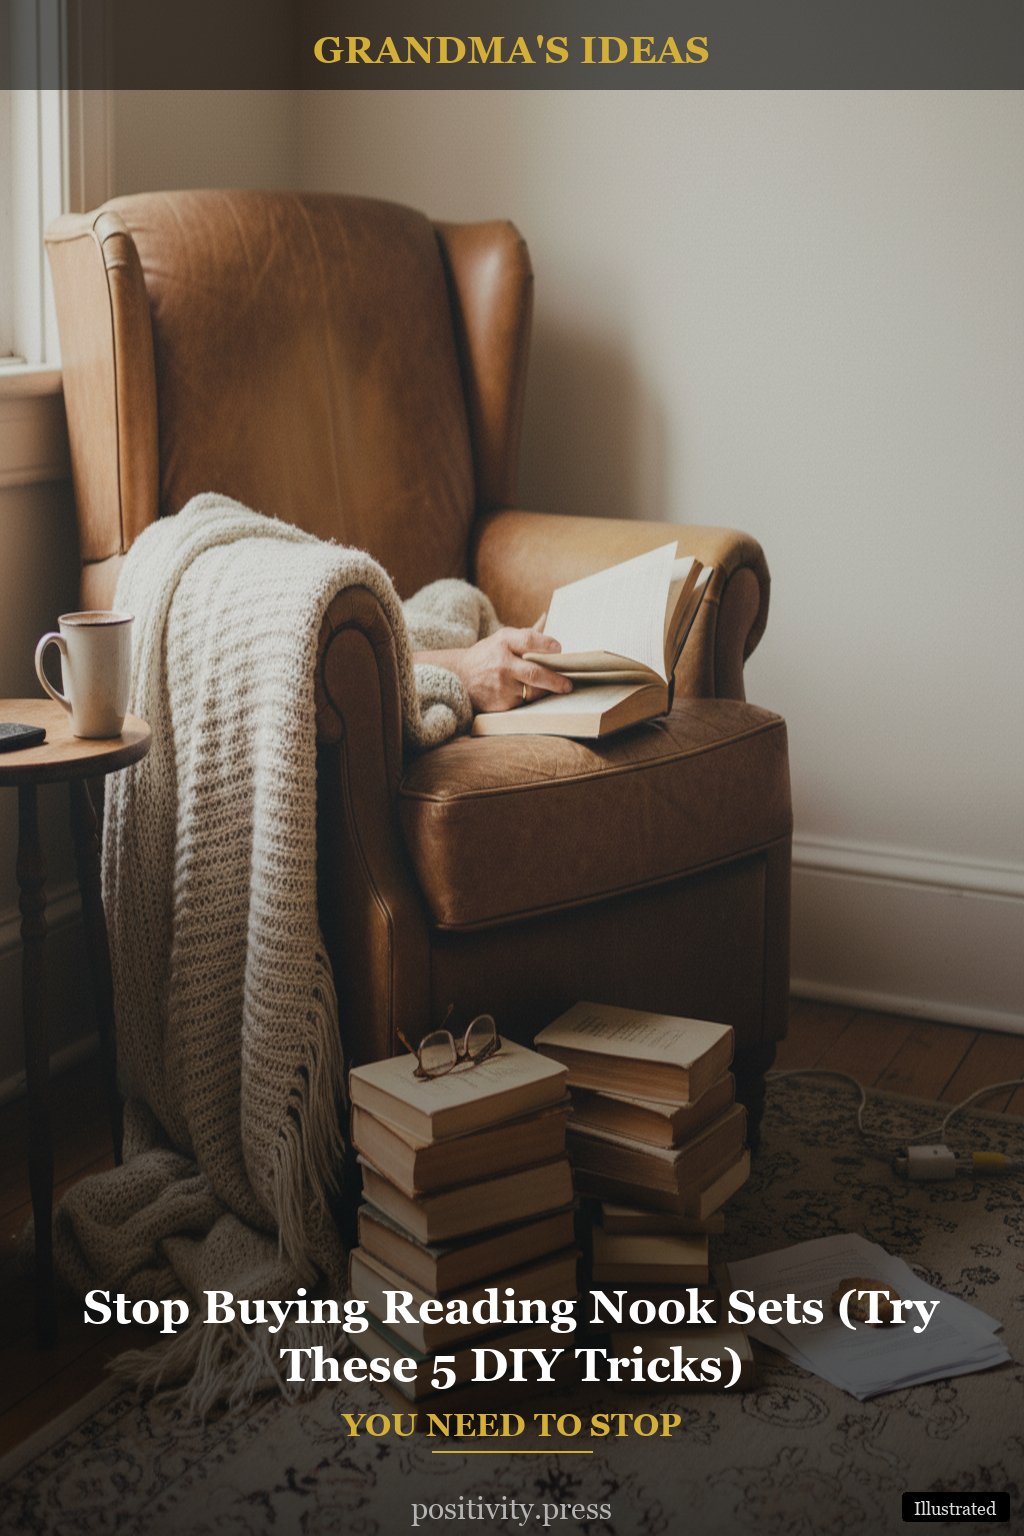
There’s something special about curling up with a good book in a cozy corner of your home. A reading nook can be your little escape, a place where you can dive into new worlds without breaking the bank. Grandma always said, ‘A home is made warm by the love it holds, not the money spent on it.’ Let’s create a charming reading nook using simple, affordable items that will make your heart sing.
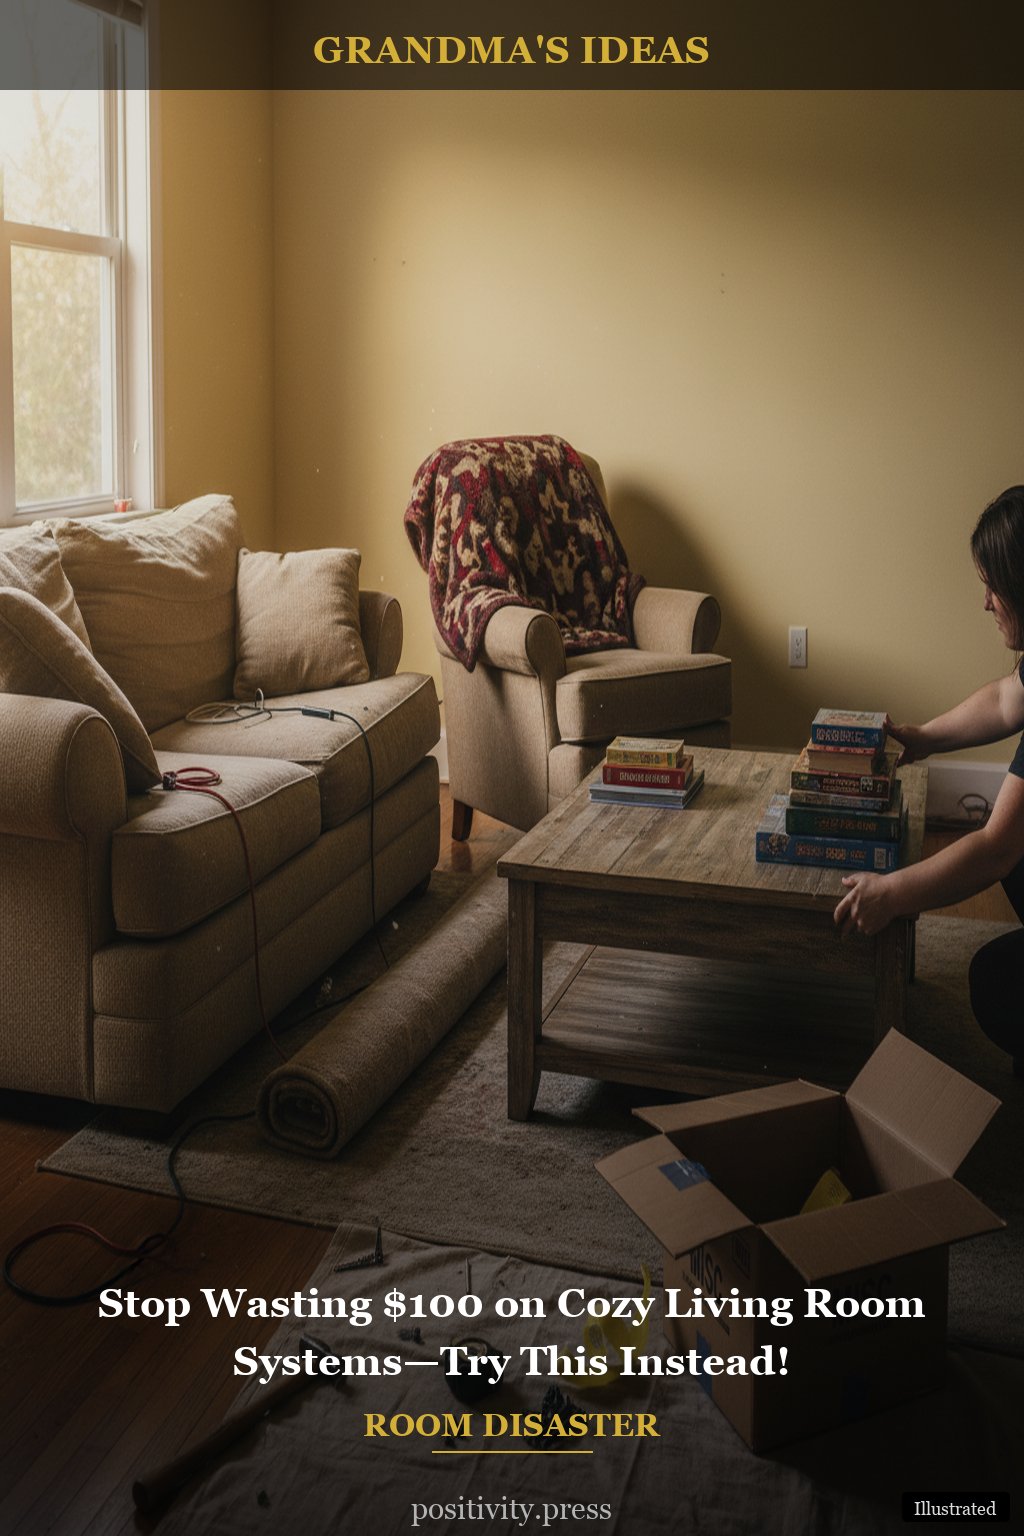
The average American home has 300,000 items — decluttering is the cheapest makeover. Before we get started, take a moment to clear away any clutter in your intended nook area. You might be surprised at how much space you already have!
What You’ll Need
- Throw blankets
- Pillows or cushions
- A small side table or crate
- Lighting (like a lamp or string lights)
- A comfy chair or floor cushions
- Bookshelves or storage baskets
Step 1: Find Your Perfect Spot
Identify a quiet corner in your home where you can create your reading nook. Look for a place near a window for natural light or a cozy corner that feels inviting. This is your canvas, so choose a spot that resonates with you.
This is the step that separates good from great:
Quick Tip: If you’re unsure, try sitting in different parts of your home with a book for a few minutes. Where do you feel most at ease?
Step 2: Create a Comfy Seating Area
Once you’ve picked your spot, it’s time to make it cozy. If you already have a chair, that’s fantastic! If not, consider using floor cushions or even an old armchair that needs a little love. You can often find second-hand chairs at thrift stores for a steal or even ask family if they have one they’re no longer using.
Layering a couple of throw blankets over your seating can add warmth and texture. You can even use an old quilt that has memories woven into it.
Grandma always emphasized this part:
Quick Tip: If you’re short on space, think about using a pouf or ottoman instead of a traditional chair to save space while still being comfortable.
Step 3: Add Lighting for Ambiance
Good lighting can transform your reading nook from ordinary to extraordinary. A small lamp or some string lights can create a warm glow that invites you to settle in with a book. Look for lamps that fit your style — vintage, rustic, or even modern. If you don’t have a lamp, hanging fairy lights or lanterns can brighten the space beautifully.
Pin this before you go to the store
Grandma’s secret for this part:
Quick Tip: To save money, you can repurpose a lamp you already own. A quick coat of spray paint can refresh its look and fit into your new nook perfectly.
Step 4: Create a Little Side Table
Every reading nook needs a place to rest your drink or stack your books. You can make a charming side table with a few household items. An upside-down crate, a small stool, or even a stack of books can serve this purpose beautifully. If you have a small tray, that can add a touch of charm too.
This is where you might enjoy a cup of tea while you read, so make sure it’s sturdy enough to hold your favorite beverage!
Grandma always said:
Quick Tip: If you want a more polished look, wrap a fabric around a crate or stool, securing it with some glue or staples for a more finished appearance.
Step 5: Personalize Your Nook
Now comes the fun part! Add personal touches to make your reading nook feel like yours. Family photos, your favorite books, or even a little plant can breathe life into your space. You can use small baskets to keep your books organized or display your favorite reads on a shelf nearby.
Consider adding a little basket for snacks or a warm blanket to snuggle up with on chilly days.
Grandma always said:
Quick Tip: A few simple decorations, like a handmade bookmark or a framed quote about reading, can make the space feel even more special.
The One Thing I Wish I Knew Sooner
When I was much younger, I often thought a reading nook required fancy furniture and elaborate decor. But the truth is, it’s about creating a space that feels inviting and warm, with little touches that reflect who you are. I learned that even the simplest of elements — a cozy chair, a soft blanket, and a good book — can be enough to make your nook feel like a haven.
As you embark on this DIY journey, remember that the best reading nooks evolve over time. They grow as your interests change and fill with the stories you cherish. Don’t be afraid to change things up — after all, this is your personal sanctuary.
So, gather what you have at home, and let your creativity flow. You’ll discover that the most charming spaces come together with love and a little imagination. Perhaps you can even fill your cozy corner with some shade garden plants that thrive for that touch of nature!
Estimated Savings
Estimated savings: $40–$100 per project (vs $150+ retail).
Creating a DIY charming reading nook can be a delightful and fulfilling project that adds warmth to your home without emptying your wallet. Start with what you already have at home — no shopping needed!


Post Comment