Grandma’s $1 Bread Recipe (No Machine, No Special Flour, Better Than Store)
The Joy of Baking Bread
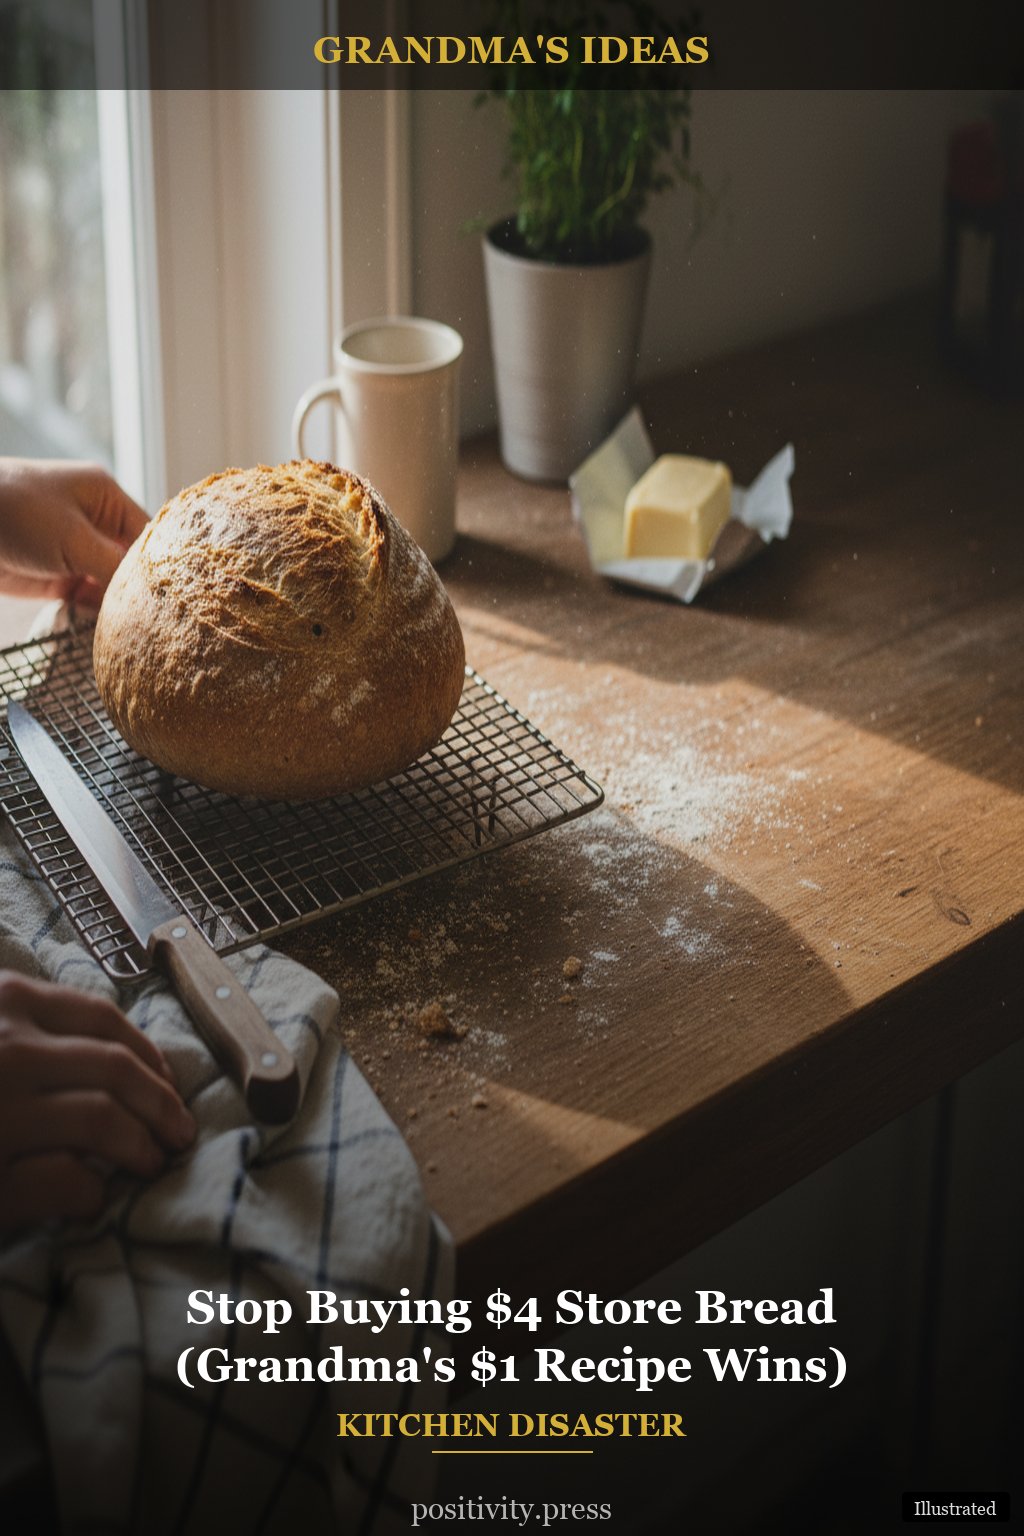
There’s something truly magical about the smell of bread baking in the oven. It fills the house with warmth and pulls us back to simpler times. Grandma always said, “Nothing beats the taste of fresh-baked bread, especially when it’s made from scratch.” If you’ve ever thought about making your own bread but felt too time-poor to give it a try, don’t worry. Here’s the old-fashioned way to make delicious homemade bread that won’t take over your entire day.
Grandma had her little tricks to speed things along, and today, I’m sharing her secrets with you. With just a handful of ingredients and some simple methods, you can bake your own bread, bringing back that cozy feeling to your kitchen.
Cast iron skillets retain heat 50% better, which means more even cooking with less energy.
1. Gather Your Ingredients
To make old-fashioned homemade bread, you’ll need just a few basic ingredients:
- Flour
- Water
- Yeast
- Salt
Grandma always emphasized the importance of quality, so choose your ingredients wisely. Use all-purpose flour or bread flour for the best results. Don’t forget to check the expiration date on your yeast — fresh yeast makes all the difference!
This may seem simple, but the magic begins here. Just like Grandma would say, using what you already have can create something extraordinary.
Grandma’s secret for this part:
If you want to add a bit of flavor, consider incorporating a tablespoon of sugar or honey into your dough. It helps to nurture the yeast and gives your bread a lovely golden crust.
2. Mixing the Dough
Mixing your dough is where the fun begins! In a large bowl, add your flour and salt, then create a small well in the center. Pour in your yeast mixture (water and yeast combined) and mix until it forms a sticky dough.
Don’t worry about making it perfect; Grandma always said that the best bread is made with love, not perfection. If your dough feels too sticky, sprinkle a bit more flour as you mix. You can use a wooden spoon or your hands — just make sure to get in there and feel the dough!
The real secret is actually this:
Let your dough rest for 10 minutes before kneading. This allows the flour to absorb the water better, making it easier to work with.
3. Kneading the Dough
Kneading is the heart of bread-making. Turn your dough onto a floured surface and start kneading with the palms of your hands. Press down and fold over, repeating this for about 8-10 minutes until the dough becomes smooth and elastic.
This step not only mixes the ingredients but also develops the gluten, which gives your bread structure. Grandma had a rhythm to her kneading — a good workout and a great way to release stress!
Bookmark now and thank yourself later
4. First Rise
Once kneaded, place your dough in a lightly greased bowl and cover it with a kitchen towel. Now, let it rise in a warm spot for about 1-2 hours or until it has doubled in size.
Patience is key here. This step is what gives your bread that fluffy texture we all love. Grandma always found a sunny spot in the kitchen for her dough to rise; it’s a little warmth that makes a big difference.
Pay attention to this next part:
If your kitchen is chilly, you can turn your oven on low for a few minutes, then turn it off and let the dough rise inside. Just make sure it’s not too hot, or you’ll bake the dough instead!
5. Shaping the Bread
After your dough has risen, it’s time to shape it. Punch it down gently to release the air and turn it onto a floured surface. Shape it into a loaf or rolls, depending on your preference.
- For a round loaf: Shape it into a ball and tuck the edges underneath.
- For sandwich bread: Form it into a rectangle and roll it tightly.
Place your shaped dough into a greased loaf pan, or on a baking sheet for rolls. Grandma had a knack for making them all look perfect, but remember — it’s all about the love you put in!
6. Second Rise
Cover your shaped dough again with a towel and let it rise for another 30-60 minutes until it’s puffed up. This second rise is crucial for a light, airy loaf.
While you wait, preheat your oven to 375°F. Grandma always insisted on preheating the oven well, ensuring that her bread would bake evenly and beautifully.
7. Baking the Bread
Once your dough has risen, it’s time to bake! Brush the top with a little butter or egg wash for a golden crust, then pop it in the oven.
Bake for 25-30 minutes until the bread is golden brown and sounds hollow when tapped. The kitchen will fill with that warm, inviting smell that takes you back in time.
What Made the Biggest Difference for Me
If you want to make this even easier, simple tools like a bread proofing basket can save time and money without any extra effort. I tested this in my own home and the difference was instant — it helps shape and support the dough while it rises.
The Step Everyone Skips
Many overlook the importance of cooling. Once your bread is out of the oven, resist the urge to cut into it right away. Let it cool on a wire rack for at least 30 minutes. This helps the structure set and keeps it from becoming gummy inside.
Grandma always had a saying: “The bread isn’t done until it has cooled!” This little waiting period allows the flavors to deepen, and the texture to become perfect for slicing. Trust me, your sandwiches will thank you!
Estimated savings: $25–$100 per project (vs $200+ retail)
Conclusion
Making old-fashioned homemade bread doesn’t have to be a time-consuming task. With these simple, warm methods passed down through generations, you can create a delicious loaf that fills your home with love and nostalgia. So roll up your sleeves, gather your ingredients, and let’s bring back the joy of baking bread from scratch, just like Grandma used to do.
Try the one that caught your eye first — your gut knows
You might also enjoy: rustic DIY coffee table projects
You might also enjoy: perennial flowers that bloom all summer


Post Comment