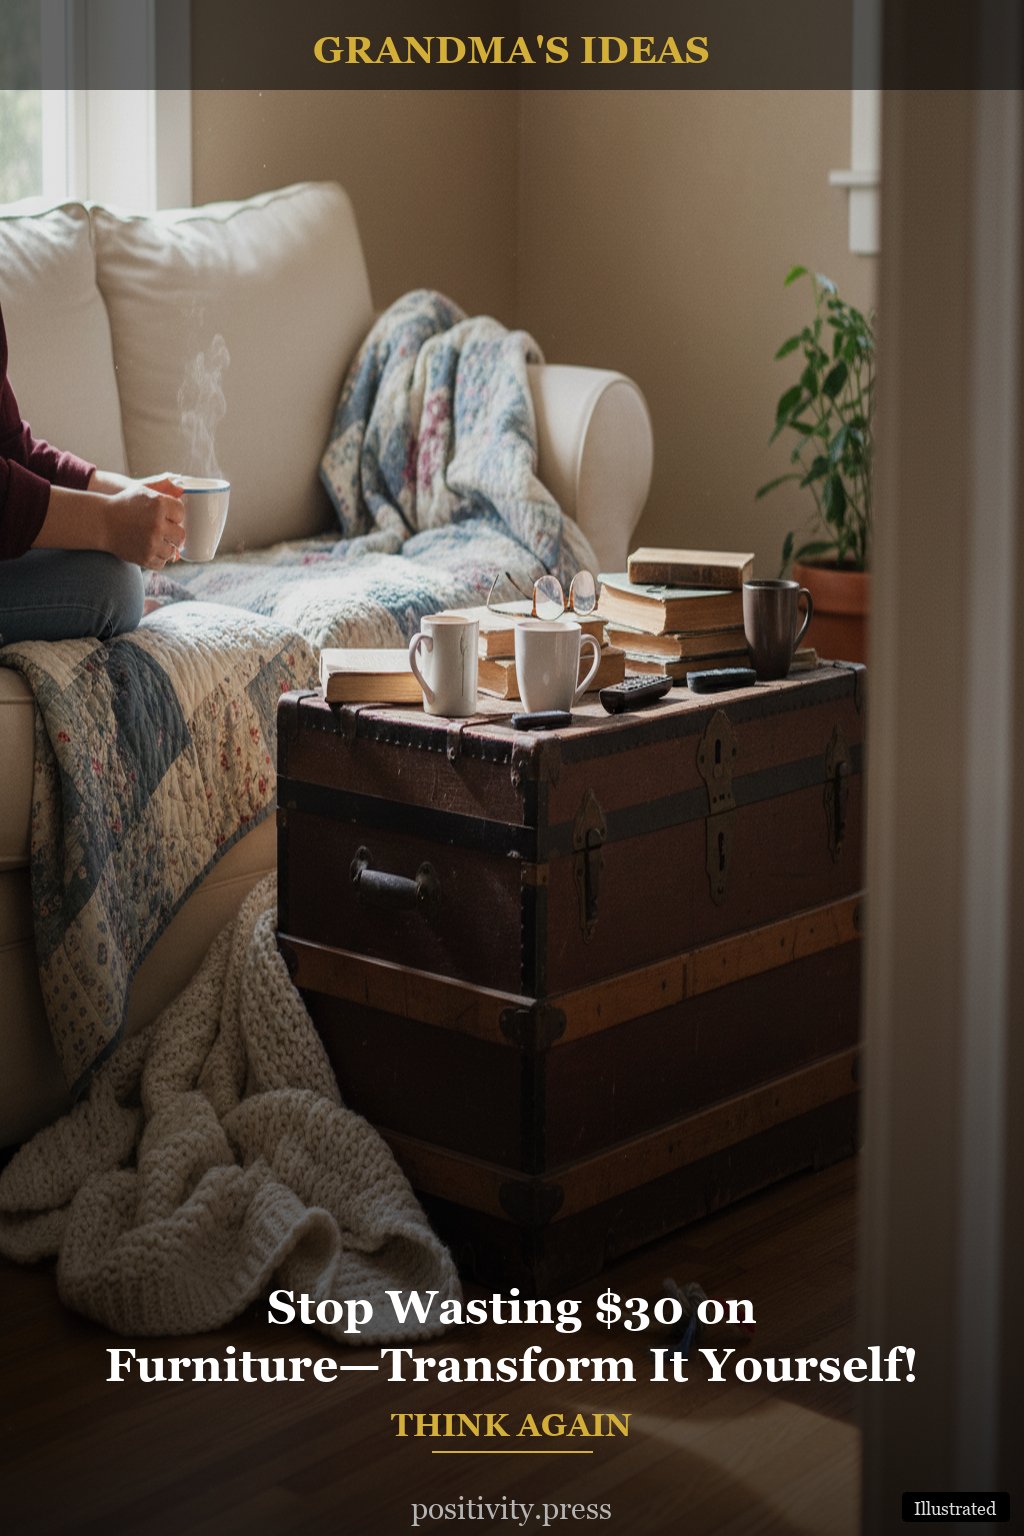
Stop Wasting $30 on Furniture—Transform It Yourself!
1. Assess the Problem Furniture
Before you dive into any DIY furniture transformation, take a step back and really look at what you’re working with. Is it a tired old chair? A scratched coffee table? Grandma always said, ‘You can’t fix what you don’t understand.’ So, make sure to note down the flaws and potential in your furniture.
Think about how each piece fits into your home. Is there a way to give it a new life? Sometimes, just a little imagination goes a long way. Remember, the first step in this journey is to assess and appreciate what you already have.
2. Gather Your Supplies
This will be your favorite part because, with a budget of $30, you can gather everything you need right from your local store or even your own garage. You won’t need any fancy tools—just the basics will do. Grab some paint, brushes, sandpaper, and perhaps a new set of knobs or handles.
Don’t overlook what you might already have at home. Old fabric scraps, leftover paint, or even a can of varnish can come in handy. This is where Grandma’s idea of ‘making do’ shines. The cheapest option turned out to be the best one because it’s practical and personal.
3. The Cleaning Ritual
Before you start your DIY project, give that furniture a good cleaning. Dust and grime can dampen your transformation efforts. A mix of vinegar and water does wonders, leaving surfaces fresh and ready for a makeover.
As Grandma used to say, ‘Cleanliness is next to DIY-ness.’ A clean surface ensures that your paint adheres properly, enhancing your final result. Plus, it’s just nice to start with a fresh slate.
Keep this list — Grandma would approve
4. Choose Your Color Wisely
Color can dramatically change the look of your furniture, and it’s one of the easiest ways to achieve a stunning DIY furniture transformation. Think about the mood you want to create. Soft pastels for a cozy vibe or bold colors for an energetic feel. This alone makes the biggest difference!
Remember, you don’t have to stick to traditional colors. Try mixing different paint tones to create a unique look. This is the trick that changes everything: a simple color change can make a world of difference.
5. The Painting Process
Now comes the fun part: painting! Make sure to follow the grain of the wood while painting to get a smooth finish. Start with a primer if you’re working with raw wood or a dark color. This will help your paint appear vibrant and even.
- Use small brushes for detailed areas.
- Consider sponges for a textured look.
- Don’t rush; let each coat dry before adding another.
Patience is key, and that’s a lesson Grandma always emphasized. The more care you take, the better the final product will be.
6. Add Personal Touches
Once the paint is dry, it’s time for the fun embellishments. Think about adding new hardware, decorative stencils, or even some decoupage to give your furniture a unique touch. This is where you can really let your personality shine!
Grandma always said, ‘A home should reflect its people.’ So, don’t shy away from making it yours. Little touches like family photos or heirloom fabrics can elevate the look of anything.
7. The Final Reveal
Now that your DIY furniture transformation is complete, it’s time to see the before and after! Stand back, admire your work, and share it with your family. This is the moment you’ve been waiting for!
Remember, the joy of a successful DIY project isn’t just in the final product, but in the memories made while creating it. Celebrate your hard work! And don’t forget to take a moment to reflect on how far you’ve come.
What Most Guides Will Not Tell You
Many guides will focus on the tools and materials, but the real essence of a successful DIY furniture transformation lies in the intention you put behind it. This transformation is as much about your creativity as it is about the furniture itself.
Also, the emotional connection to the pieces in your home matters. When you put your heart into these projects, they become more than just furniture; they become part of your family’s story. So, think beyond aesthetics—create a piece that resonates with you and your loved ones.
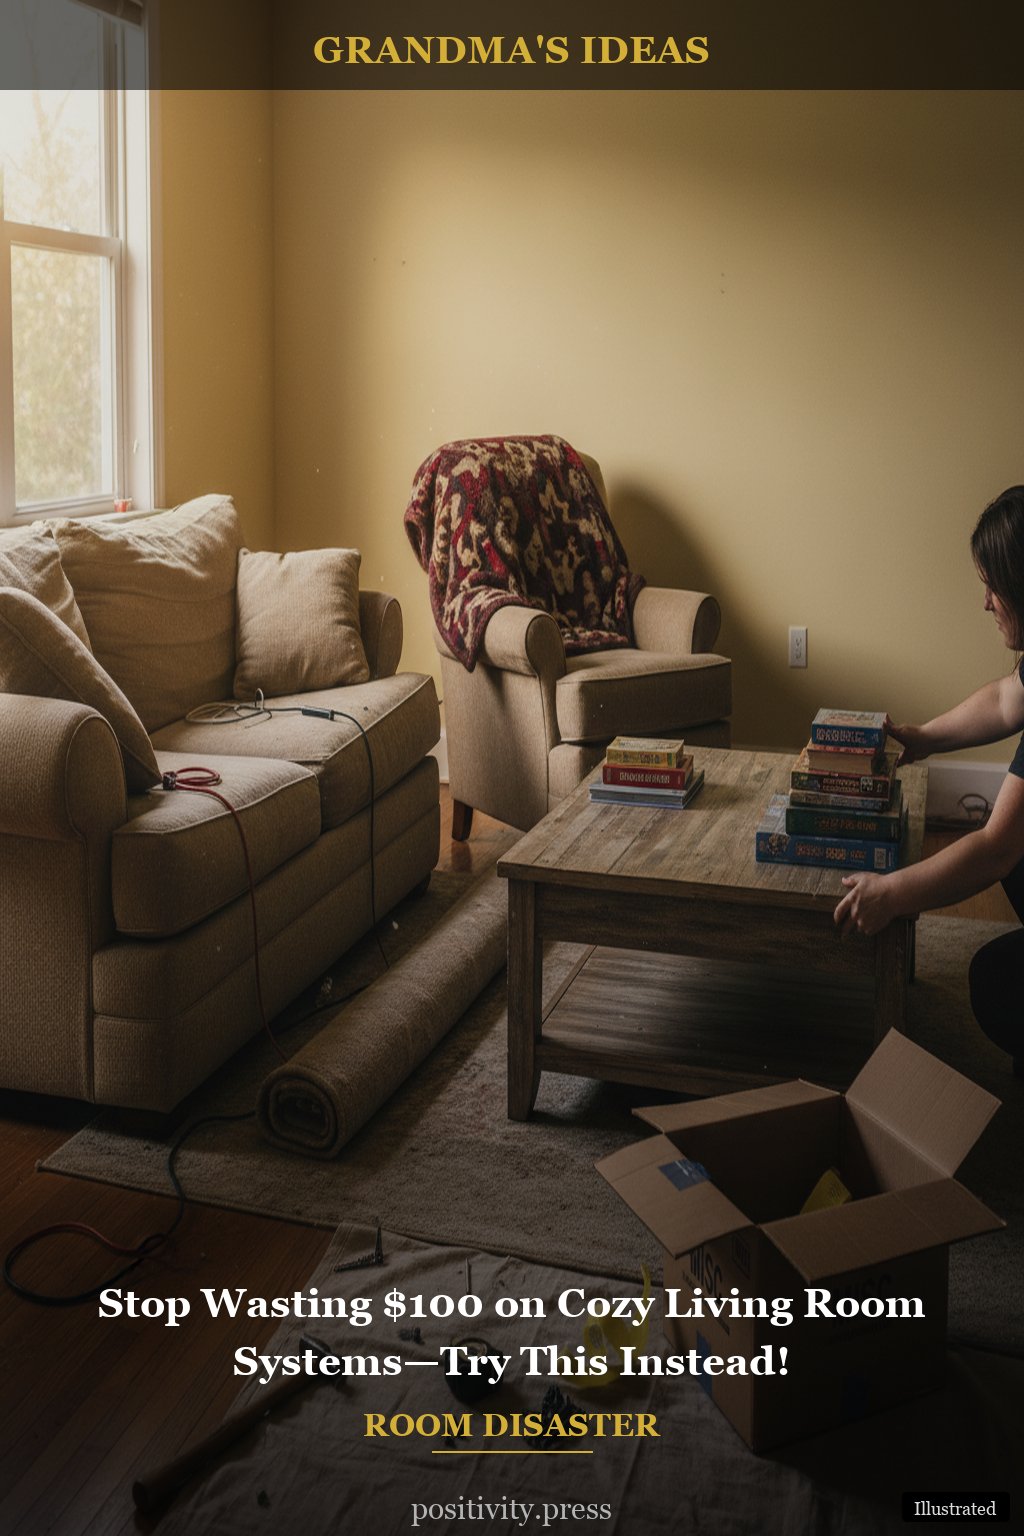
And let’s not forget about cost. The average DIY accent wall costs $30-$60 vs $300+ for professional wallpaper installation. With a little elbow grease and creativity, you can achieve stunning results without breaking the bank. It’s a win-win!
Estimated Savings
Estimated savings: $200–$300 per project (vs $500+ retail)
Test one of these and send me a photo of the result
You might also enjoy: old fashioned comfort food recipes
You might also enjoy: companion planting guide for vegetables


Post Comment