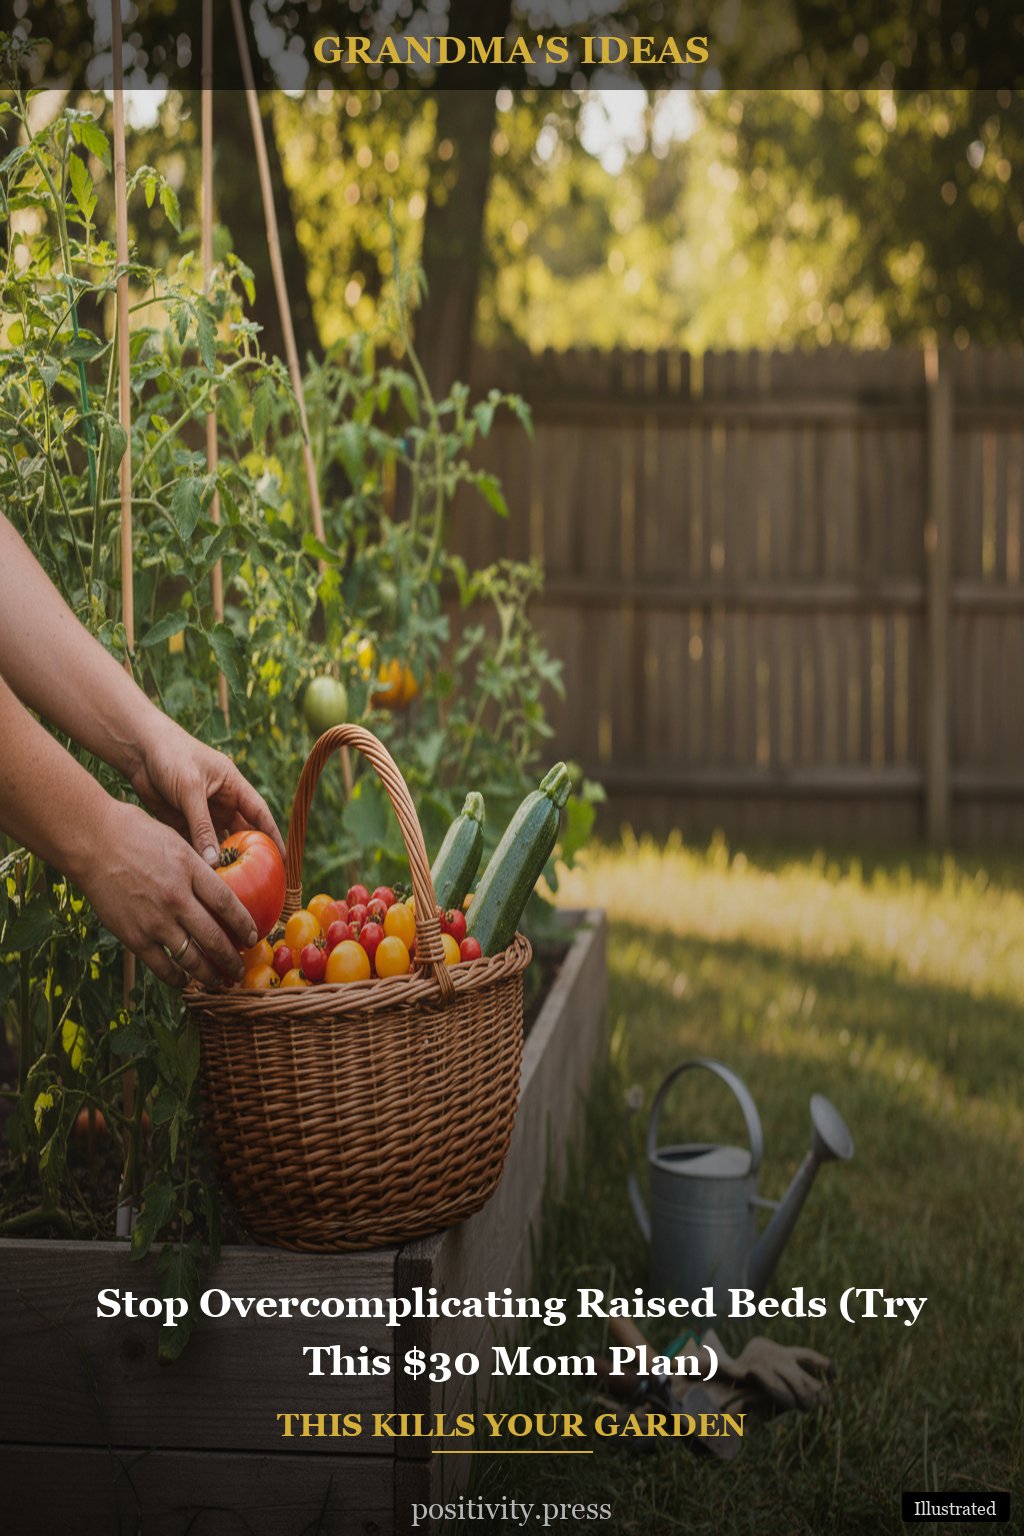
Under $30 Raised Bed Setup That Took Me 1 Saturday (Busy Mom Plan)
1. Choose the Right Location
Finding the perfect spot for your raised bed garden is essential. Look for an area that gets at least 6-8 hours of sunlight each day. This can be in your backyard, side yard, or even a sunny balcony. Avoid areas with too much shade, as they can hinder plant growth.
Another key factor is accessibility. Make sure your garden is easy to reach for watering and maintenance. You want it to be a cozy spot that draws you in, not a chore to visit!
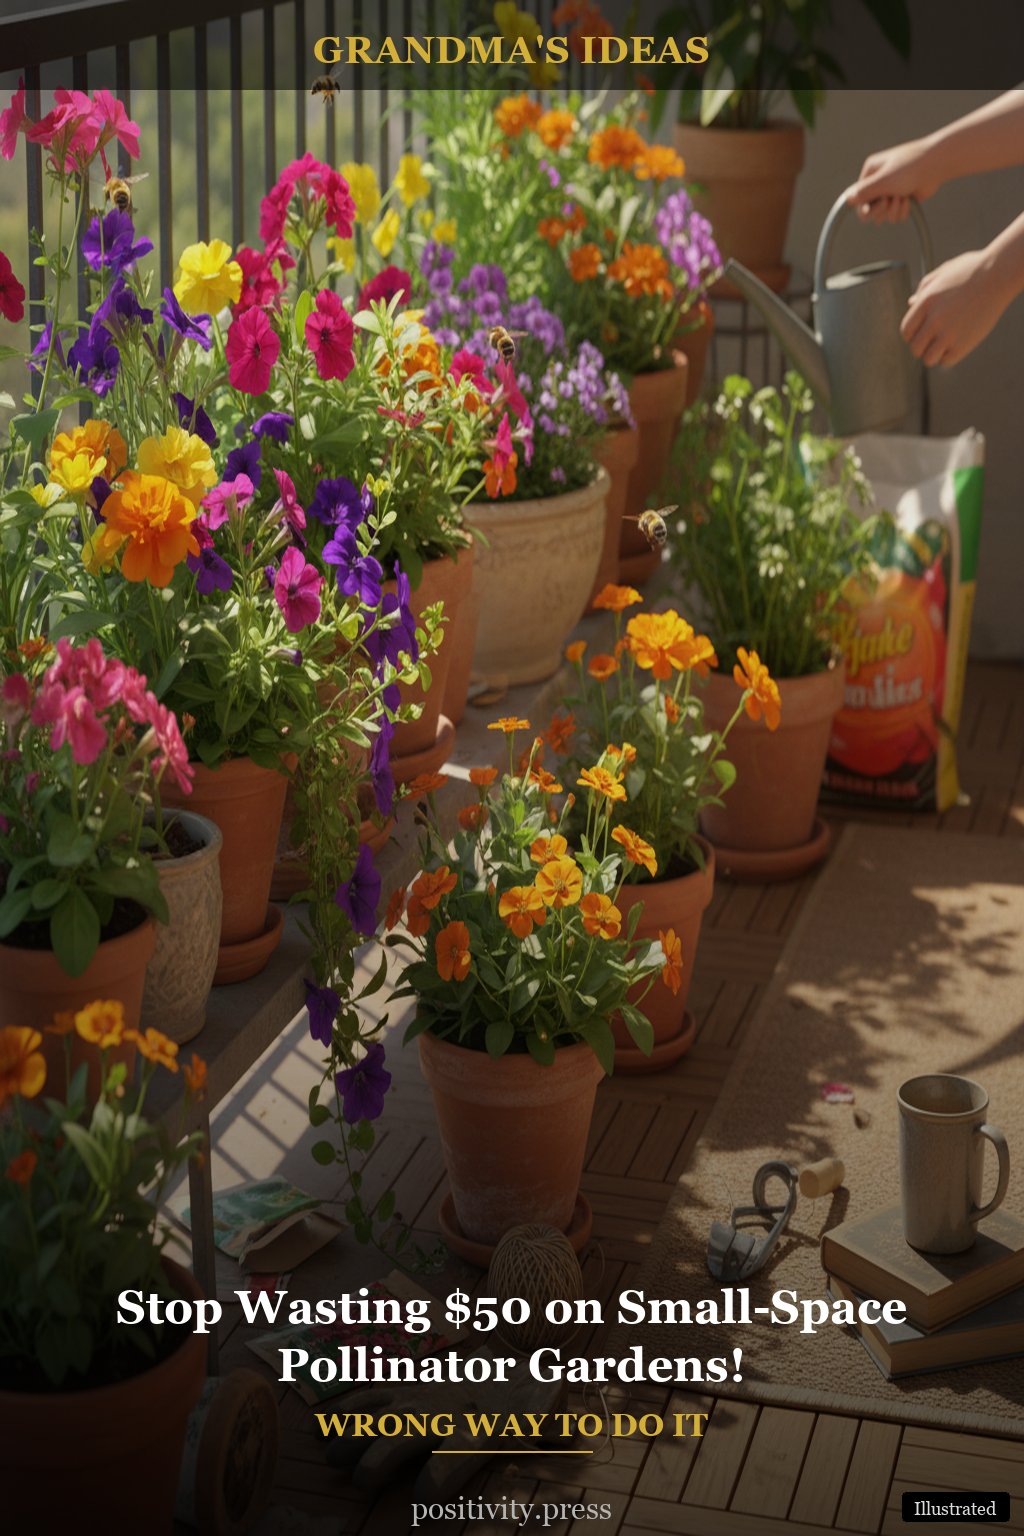
Pollinators are responsible for 1 in every 3 bites of food we eat.
2. Gather Your Materials
Creating an affordable raised bed garden setup can be done without breaking the bank. You can use reclaimed wood, cinder blocks, or even old pallets for your garden frame. Just remember, Grandma always said, “Use what you have!” This not only saves money but also adds a touch of character to your garden.
- Wood: Look for untreated lumber to avoid chemicals leaching into your soil.
- Cinder Blocks: They are sturdy and can double as a planting space.
- Pallets: Ensure they are heat-treated and safe for planting.
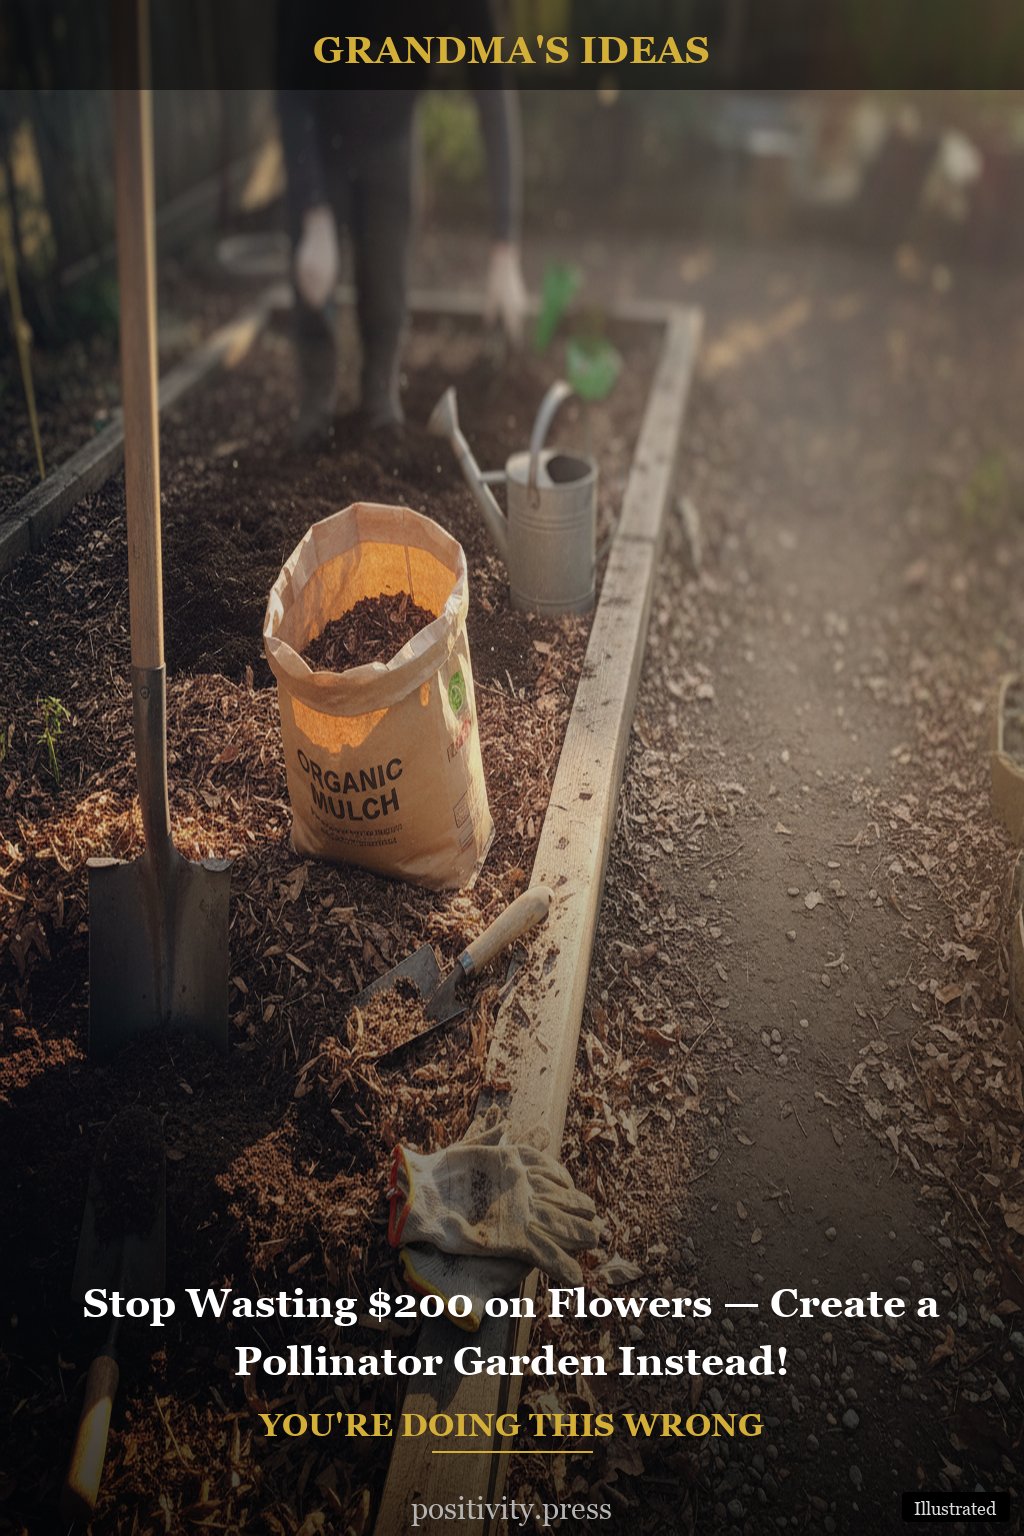
3. Prepare Your Soil
Soil is the heart of your garden. You can create a simple and nutrient-rich mixture with compost, garden soil, and peat moss. Grandma always emphasized this part: good soil equals happy plants! A good rule is to use one-third compost, one-third garden soil, and one-third peat moss.
Mix these together in a wheelbarrow or large container to create a smooth blend. This rich mixture will provide your plants with the nutrients they need to flourish.
Keep this list — Grandma would approve
4. Plant Your Seeds or Seedlings
Now comes the fun part! Choose seeds or seedlings that are suitable for your growing season. Some easy options for beginners include tomatoes, lettuce, and radishes. These grow quickly and are incredibly rewarding!
Follow the planting instructions on the seed packets for the best results. Remember, patience is key! Plants need time to grow, just like we do.
5. Water Wisely
Watering can make or break your garden. It’s important to keep the soil moist but not soggy. An old-fashioned trick is to water deeply once a week instead of shallowly every day. This encourages roots to grow deeper, making your plants more resilient.
Consider using a soaker hose or drip irrigation system. These are affordable options that save time and ensure even watering.
6. Mulch for Moisture Retention
Adding a layer of mulch can help retain moisture in your garden. Use wood chips, straw, or even shredded leaves. This not only keeps your soil moist but also suppresses weeds that can compete with your plants.
Mulching is a simple fix that can save you time and effort in the long run. Plus, it gives your garden a neat, finished look!
7. Create a Cozy Garden Space
Make your garden a welcoming retreat. Add a few cozy touches, like a small bench or decorative stones. Grandma always had a spot to sit and enjoy her hard work, and it made all the difference.
Consider planting flowers alongside your veggies. Marigolds and nasturtiums not only look lovely but also attract beneficial pollinators. Remember, pollinators are responsible for 1 in every 3 bites of food we eat!
8. Keep Your Garden Simple
Don’t overwhelm yourself with too many plants or complicated systems. Start small and gradually expand your garden as you gain confidence. The one thing that makes the biggest difference is enjoying the process, not just the outcome.
As you become more comfortable with gardening, you can explore new plants and layouts. For now, focus on what feels manageable.
What Actually Matters Most Here
The essence of gardening is not just about planting seeds; it’s about nurturing something from the ground up. Each little sprout is a reminder of patience and care. Remember that it’s okay to make mistakes—every gardener has learned through trial and error.
Creating an affordable raised bed garden setup is about making the most of what you have and enjoying the journey. Celebrate each small success, whether it’s seeing your first bloom or harvesting your first crop. These moments make all the effort worthwhile.
So gather your supplies, pick a sunny spot, and let’s get growing!
The first step is always the hardest — just pick one and go
You might also enjoy: freezer meal prep and batch cooking
You might also enjoy: mirror styling and placement tips
Estimated savings: $25–$100 per project (vs $200+ retail)


Post Comment