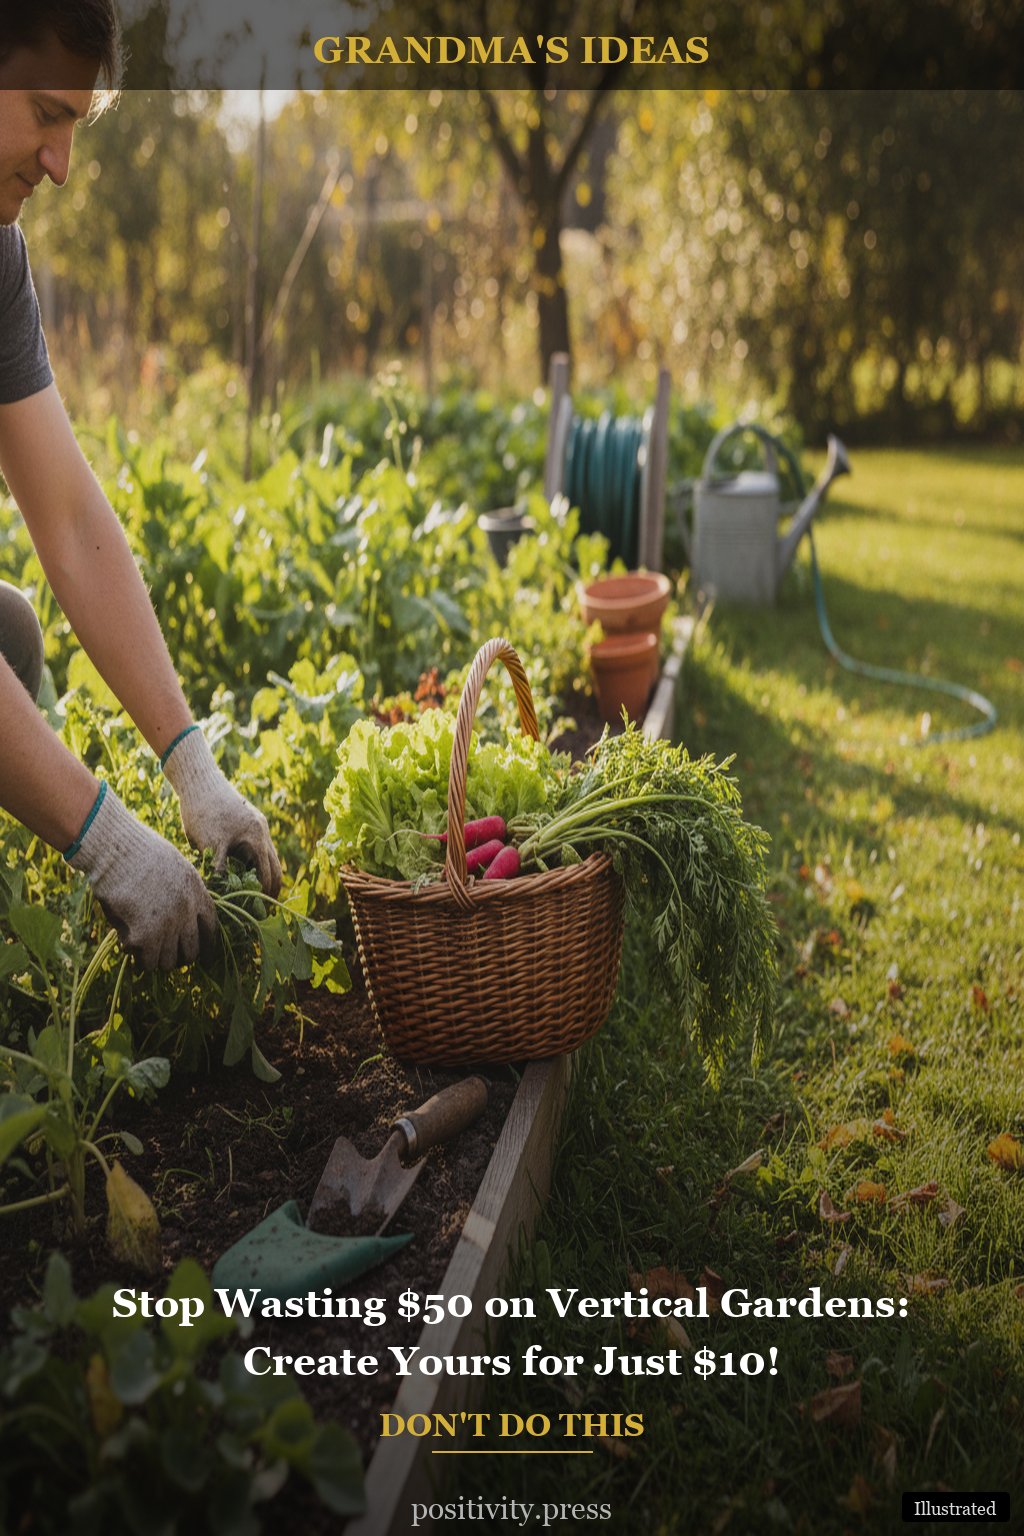
Stop Wasting $50 on Vertical Gardens: Create Yours for Just $10!
What You’ll Need
Before we jump into the steps of creating your very own vertical garden, let’s gather some supplies. You might be surprised at how many of these items you already have at home!
- Old wooden pallets or crates
- Used plastic bottles or tin cans
- Potting soil
- Seeds or small plants (like herbs, succulents, or strawberries)
- Twine or old fabric strips
- Scissors or a small knife
- Paint (optional, for decorating)
Step 1: Choose Your Space
First things first, you need to pick a spot for your new vertical garden. Look for a sunny area on a wall or fence. Grandma always said the right spot is half the battle!
Quick Tip: If you have a small patio or balcony, that’s a perfect place. Just make sure it gets at least 6 hours of sunlight!
Step 2: Gather Your Materials
Now, find those old wooden pallets or crates you’ve been meaning to use. If you don’t have any, check your local thrift store or ask neighbors — you might be surprised at what you can find!
Quick Tip: A single tomato plant can produce 10-15 pounds of tomatoes per season. Imagine having fresh tomatoes just outside your door!
Step 3: Prepare Your Base
If you’re using wooden pallets, make sure they’re clean and sturdy. Sand them down a bit if they feel rough. For crates, just check that they’re still in good shape. You can even give them a coat of paint if you want to brighten things up.
Quick Tip: Attach a plastic liner to the inside of the crates to help hold the soil in place.
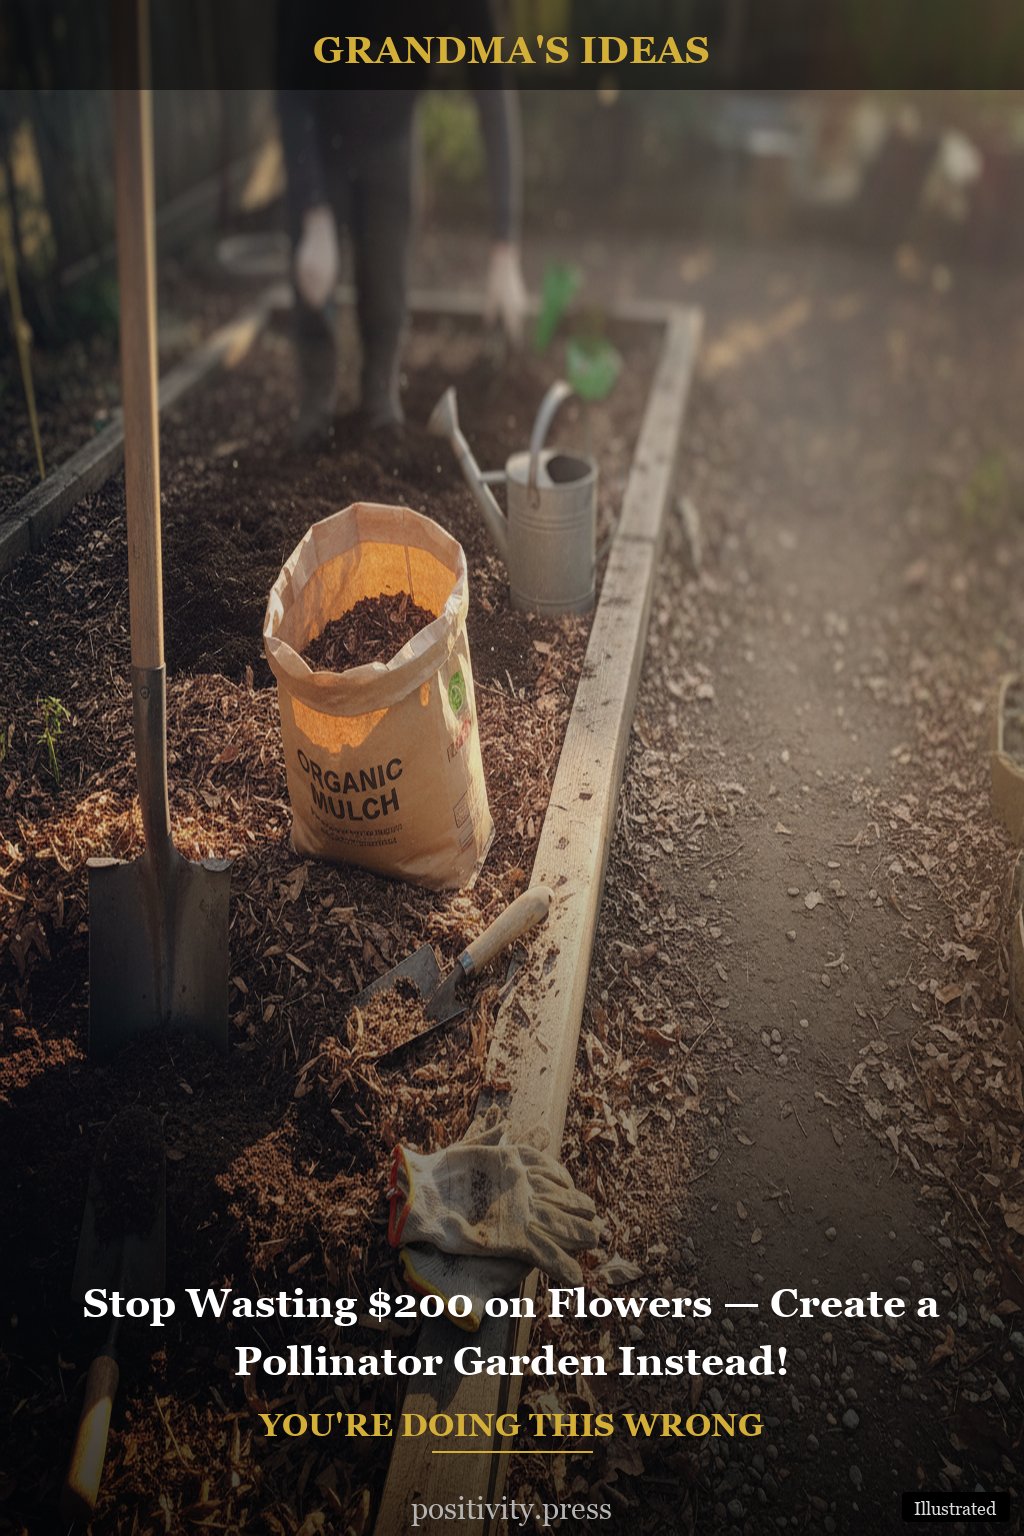
Step 4: Fill with Soil
Fill your pallets or crates with potting soil. Grandma always said not to skimp on soil — it’s the foundation of your garden! Loosen the soil with your hands to aerate it before planting.
Quick Tip: Add some compost if you have it. It can really help your plants thrive!
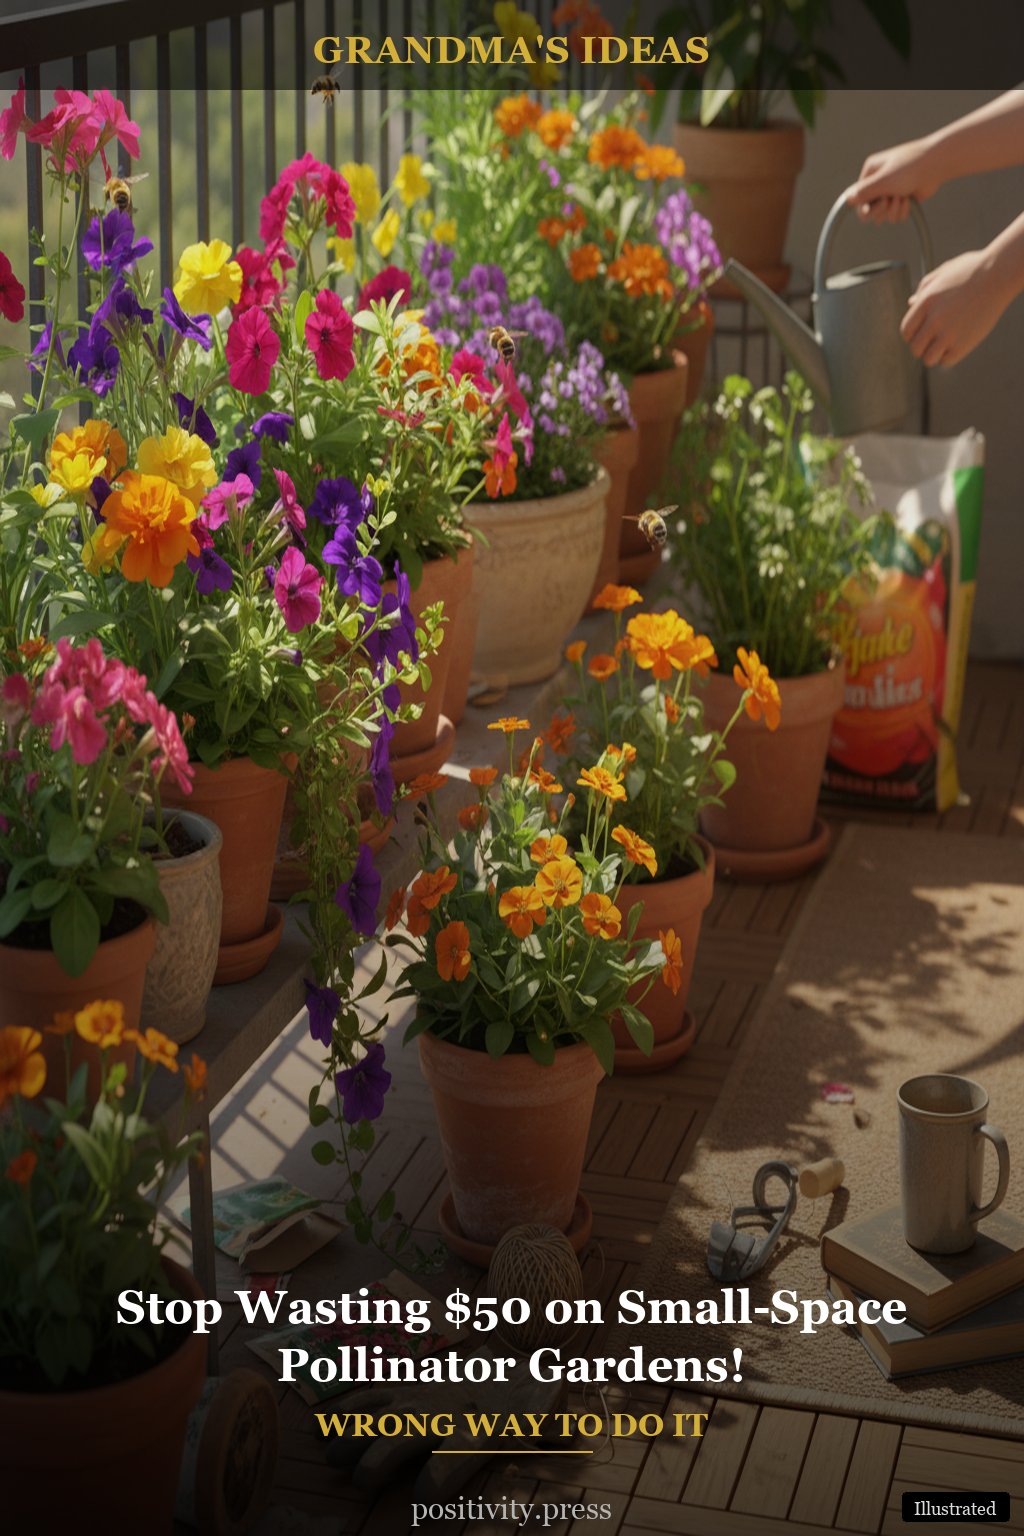
Step 5: Plant Your Seeds or Plants
Now, it’s time to plant! You can use seeds or small plants. If you’re using seeds, follow the instructions on the packet for depth. For small plants, just make sure they’re spaced out nicely for air circulation.
Quick Tip: Mix different types of plants for a beautiful, colorful garden. Herbs, flowers, and vegetables all do well in vertical gardens!
Step 6: Secure Your Vertical Garden
Once everything is planted, it’s time to secure your vertical garden to the wall or fence. Use twine or fabric strips to tie it down snugly. This helps prevent any tipping or falling over in the wind.
Quick Tip: If using a pallet, lean it against the wall at a slight angle for added stability.
Step 7: Water and Care
Don’t forget to water your garden regularly! The first few weeks are crucial as the plants establish their roots. Grandma always said a little love goes a long way!
Quick Tip: Consider using a drip irrigation system if you have a larger setup. It saves time and ensures even watering.
Pin this for the next time you feel stuck
The Step Everyone Skips
While most people rush through planting, the one thing that makes the biggest difference is properly preparing your soil. Many overlook the importance of aeration and nutrients. The better the soil, the happier your plants will be. Grandma would often say that a good garden starts with great soil — it’s like making the best pie with fresh, ripe fruit!
Another step people often skip is checking for pests regularly. You don’t want to find your beautiful vertical garden invaded by unwanted guests. Spending a few minutes each week to inspect leaves and stems can save you a lot of heartache later. Remember, prevention is easier than cure!
Estimated savings: $30–$50 per project (vs $80+ retail)
Conclusion
Creating a vertical garden doesn’t have to be a time-consuming or expensive project. With a little creativity and some old-fashioned tricks, you can have a beautiful garden that works with your space and budget. Just remember to take it slow and enjoy the process, just like Grandma would!
Start with the easiest one — Grandma always said start small
You might also enjoy: cozy reading nook setup guide
You might also enjoy: summer grilling and BBQ side dishes


Post Comment