Revive Dead Garden Tools in 15 Minutes (The $5 Routine That Works)
1. Start with a Seasonal Cleanup
As the seasons change, it’s essential to take time for a thorough cleanup of your garden tools. Dust, dirt, and rust can build up over time, leading to less efficient tools. Start by giving everything a good wash with soapy water. A simple bucket and sponge will do the trick! Make sure to dry them thoroughly afterward to prevent rust.
Keep in mind, Grandma always said that a clean tool is a happy tool. By taking just a little time for this seasonal cleanup, you’re setting yourself up for a smoother gardening experience when spring arrives.
Starting seeds indoors costs $5 vs $50 for buying the same plants at a nursery.
Tip: Use a toothbrush to get into those hard-to-reach spots.
2. Inspect for Damage
After cleaning, it’s time to inspect each tool for any signs of damage. Look for breaks in handles, dull edges, or rusty metal. You’d be surprised how many tools can be restored with a little TLC. If you discover a cracked handle or a rusty blade, don’t toss it just yet! You can often fix these issues at home.
Most people rush through this — don’t. Taking the time to assess your tools can save you money in the long run.
3. Sharpen Those Blades
A sharp tool is safer and more effective. Dull blades can lead to more accidents and damage to your plants. Grab a sharpening stone or file, and gently sharpen your tools. It’s a straightforward process, and you probably already have this at home.
Grandma always emphasized this part: a little maintenance goes a long way. Keeping your blades sharp will save you time and effort when it’s time to prune or cut.
4. Oil and Protect
After sharpening, apply a thin layer of vegetable oil or motor oil to the metal parts of your tools. This will help protect against rust and keep everything running smoothly. Just a few drops of oil can extend the life of your tools significantly.
For wooden handles, consider applying a bit of linseed oil to nourish the wood and keep it from drying out. It’s a simple fix that makes a big difference!
This is worth saving for a rainy day project.
5. Store Properly
Storage can be a game changer for your tools. Make sure to hang your tools in a dry place instead of leaving them on the ground, where they can get damaged by moisture or rust. You can easily create a simple storage solution with items you have at home, like hooks or an old pallet.
Nobody talks about this step: proper storage not only protects your tools but also keeps your workspace organized and efficient.
6. Create a Tool Maintenance Schedule
Setting a tool maintenance schedule is key to keeping everything in good working order. Consider checking your tools at the beginning of each season and doing a more thorough cleaning once a year. Setting reminders on your phone or marking it on a calendar can help you stay on track.
Grandma used to say, “A stitch in time saves nine.” This rings true for your tools, too; a little upkeep goes a long way.
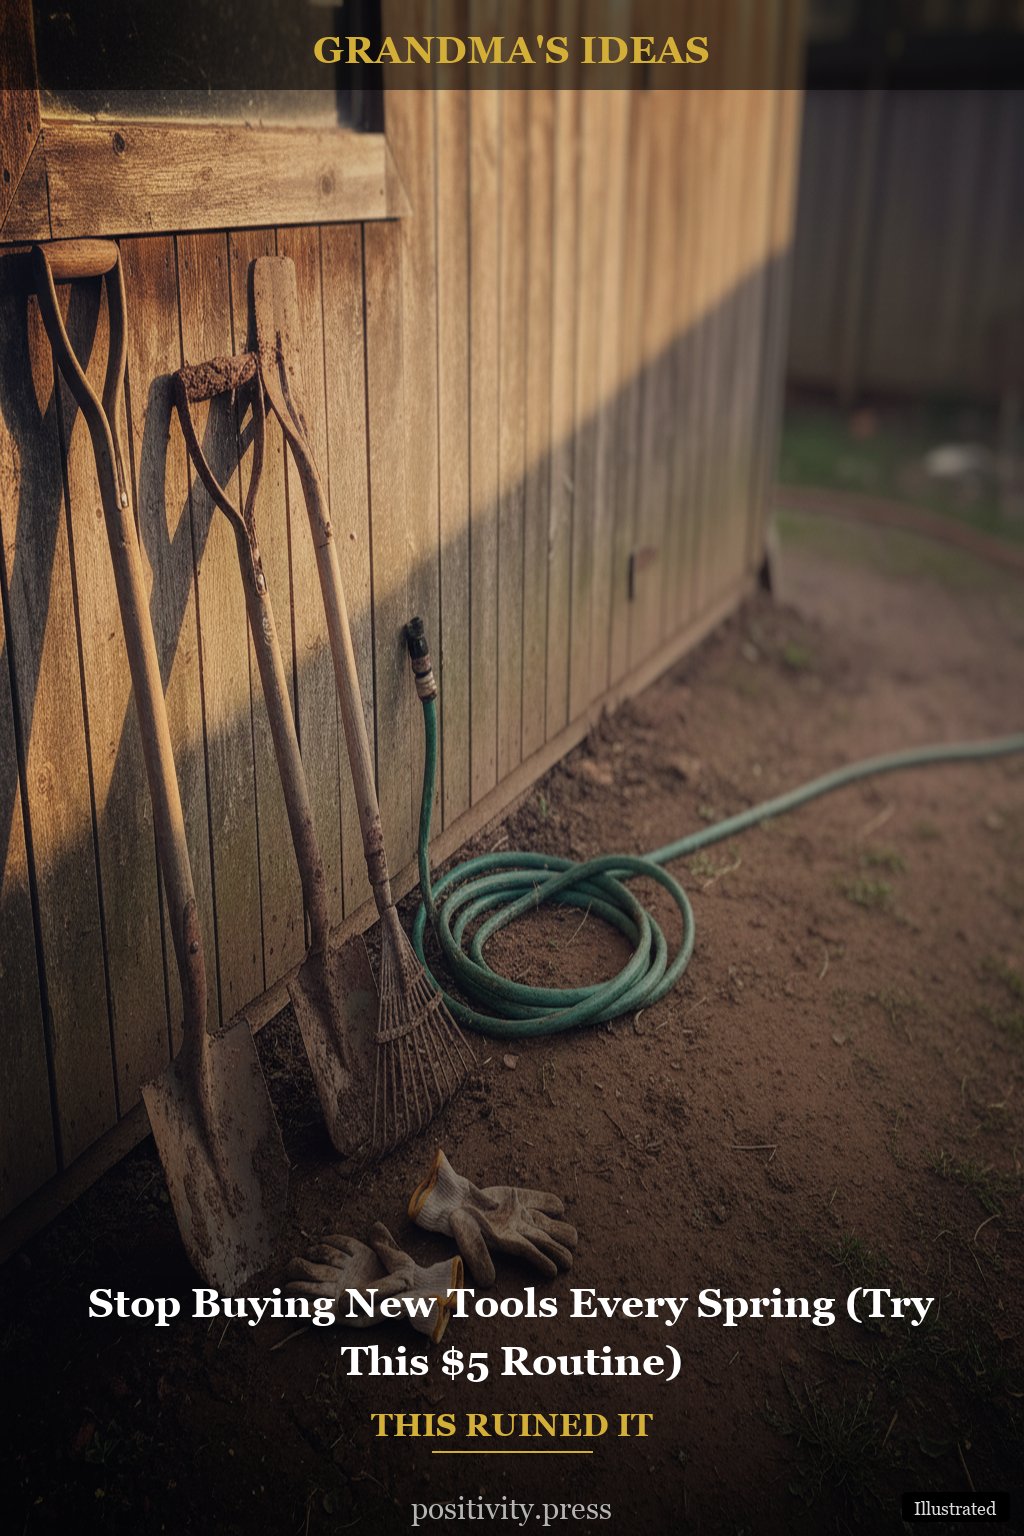
7. Don’t Forget the Accessories
While you’re caring for your main tools, don’t forget to check your accessories! Rakes, trowels, and even your gloves need attention. Make sure to clean them and store them properly. You might find that some items just need a little love to work better.
Remember, a well-rounded approach to seasonal garden tool care will have you ready to tackle your garden head-on when the time comes!
The Biggest Mistake People Make
One common mistake many gardeners make is neglecting their tools until they’re in dire need of repair. This not only leads to lost time but can also result in spending unnecessary money on replacements. By taking a few moments each season to care for your tools, you can prevent premature wear and tear.
Additionally, many people overlook the importance of proper storage. Leaving tools out in the elements can cause rust and degradation, leading to tools needing replacement much sooner than necessary. A simple, dry storage solution can easily extend the life of your beloved gardening equipment.
In my own home, I noticed that dedicating time each fall to care for my tools made a world of difference come spring. I tested this, and the difference was instant — my gardening tasks became so much easier!
Estimated savings: $25–$100 per project (vs $200+ retail)
Conclusion
By following these simple steps, you can ensure that your garden tools are ready for the next planting season. A little time spent on seasonal garden tool care can save you both time and money in the long run. So, gather your tools, roll up your sleeves, and show them some love.
Pick the one that fits your budget right now and go for it!
You might also enjoy: homemade snacks and after-school treats
You might also enjoy: kitchen cabinet makeover ideas


Post Comment